Von Experten empfohlen,
von Nutzern geliebt.
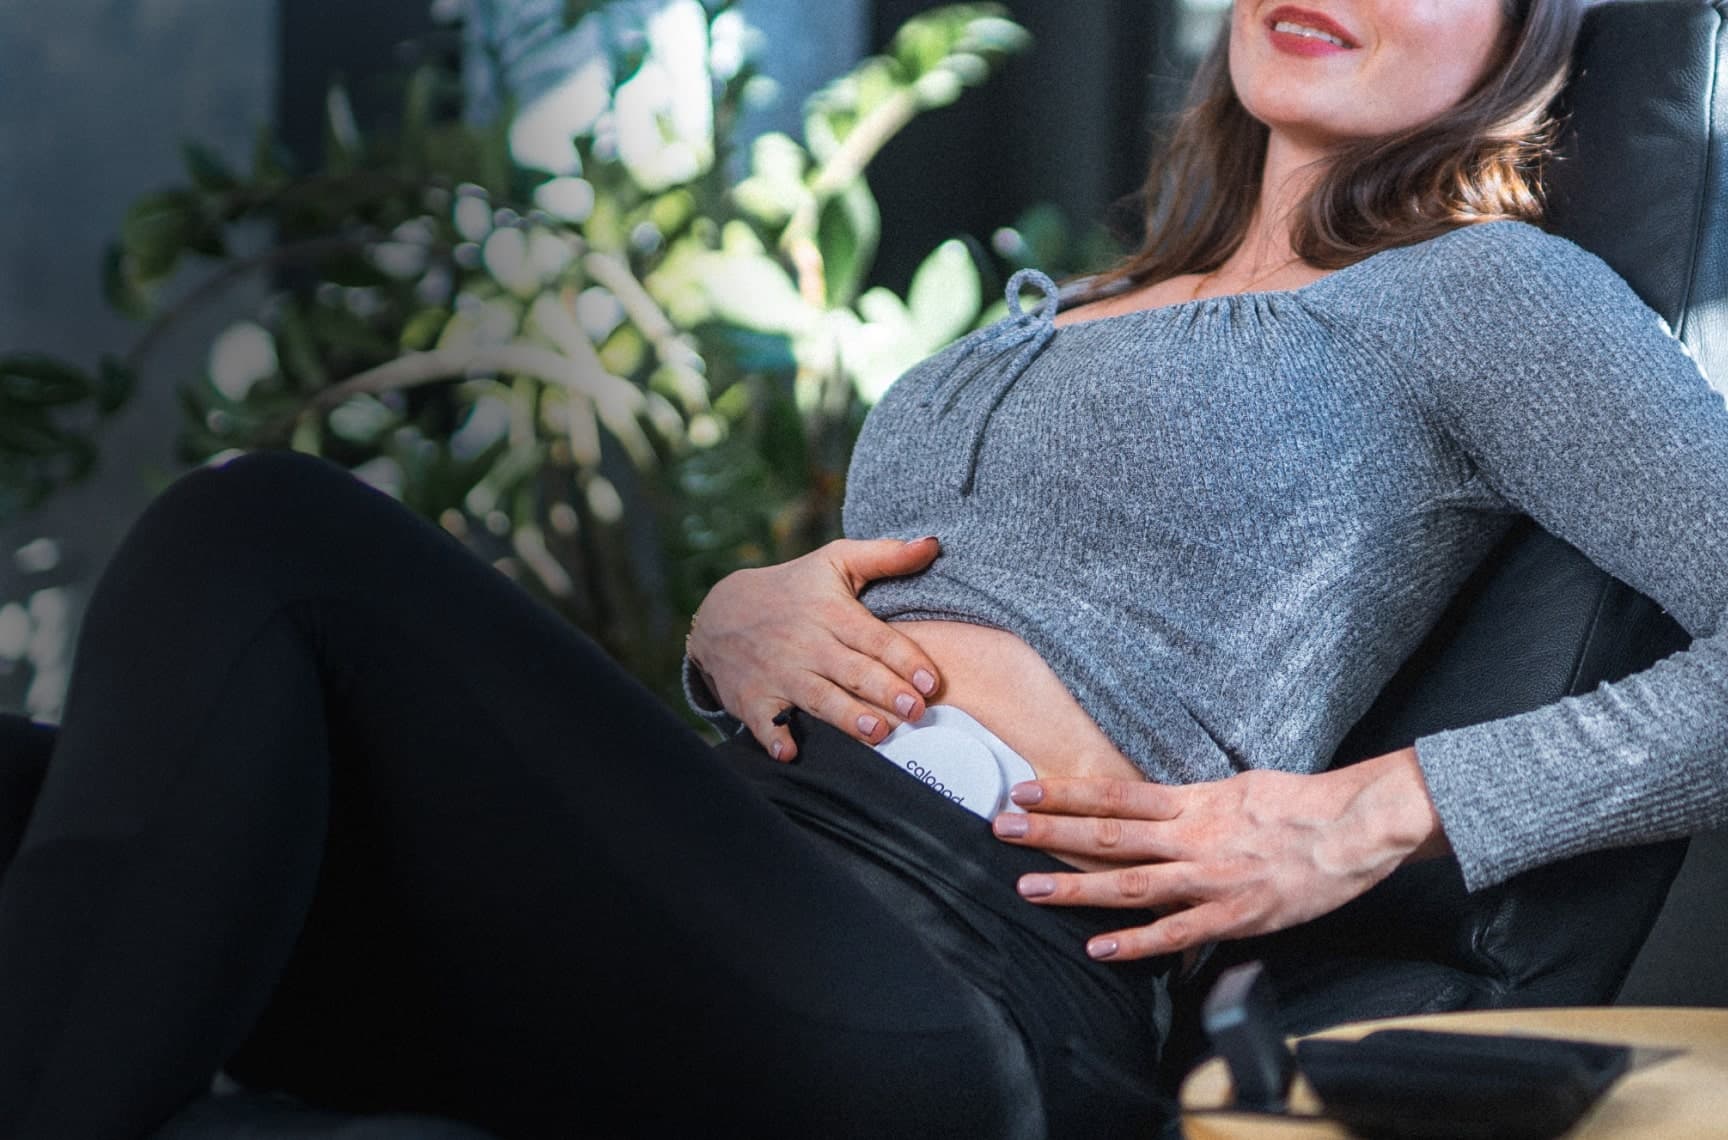
Egal ob Verspannungen beim Sport oder Schmerzen im Alltag - wir bringen deine Lebensqualität zurück.
Johanna erklärt, warum Calopad das weltweit innovativste Therapie-Konzept verfolgt
Innovativ, effektiv und vor allem bedürfnisorientiert: Das ist Calopad. Davon sind auch erfahrende Ärzte überzeugt. Johanna erklärt dir im Video, warum Calopad in der Schmerztherapie und Muskelregeneration weltweit als wegweisend gilt.
Erfahre aus erster Hand, was dieses Konzept so revolutionär macht und wie es deinen Weg zur langanhaltenden Schmerzfreiheit verändern kann.
Vorteile
Warum Calopad?
Calopad ist mehr als ein Produkt; es ist ein Lebensveränderer. Es verbindet modernste Technologie mit einer ganzheitlichen Herangehensweise, um dir die bestmögliche Lebensqualität zu ermöglichen. Ein Leben, das schmerzfrei, aktiv und erfüllt ist. Schliesse dich der Calopad-Revolution an und entdecke, wie du deinen Lebensstil auf das nächste Level heben kannst.

Weltneue Therapieform
Calopad ist das erste Therapiemodell weltweit, das Wärmetherapie, Physioübungen und Experten-beratung nahtlos miteinander verbindet. Dieser Ansatz sichert eine umfassende Behandlung – von der Technologie bis zur individuellen Begleitung.

Flexibilität für jeden
Egal, ob du das Gerät, die App, die persönliche Beratung bevorzugst oder von allem gleichzeitig profitierst – Calopad ist modular gestaltet, um den Bedürfnissen verschiedenster Menschen gerecht zu werden. Wähle, was am besten zu dir passt.

Schmerzlinderung+
Calopad bietet nicht nur temporäre Erleichterung. Es ist ein Lebensstil, ein Partner, der dich bei jedem Schritt auf deiner Reise zu dauerhaftem Wohlbefinden unterstützt.

Innovativer Ansatz
Calopad revolutioniert die Art und Weise, wie Schmerzen therapiert werden. Es ist nicht nur ein Werkzeug, sondern ein Lifestyle-Element, das Wohlbefinden und moderne Technologie in den Vordergrund stellt.

Erprobt und zertifiziert
Die Wirkung von Calopad wurde wissenschaftlich überprüft und zertifiziert. Dies garantiert eine zuverlässige, vertrauenswürdige und sichere Therapie.
Effizient und effektiv Schmerzen und Verspannungen lindern dank Tiefenwärme
Wärme: Seit tausenden von Jahren das beste Heilmittel
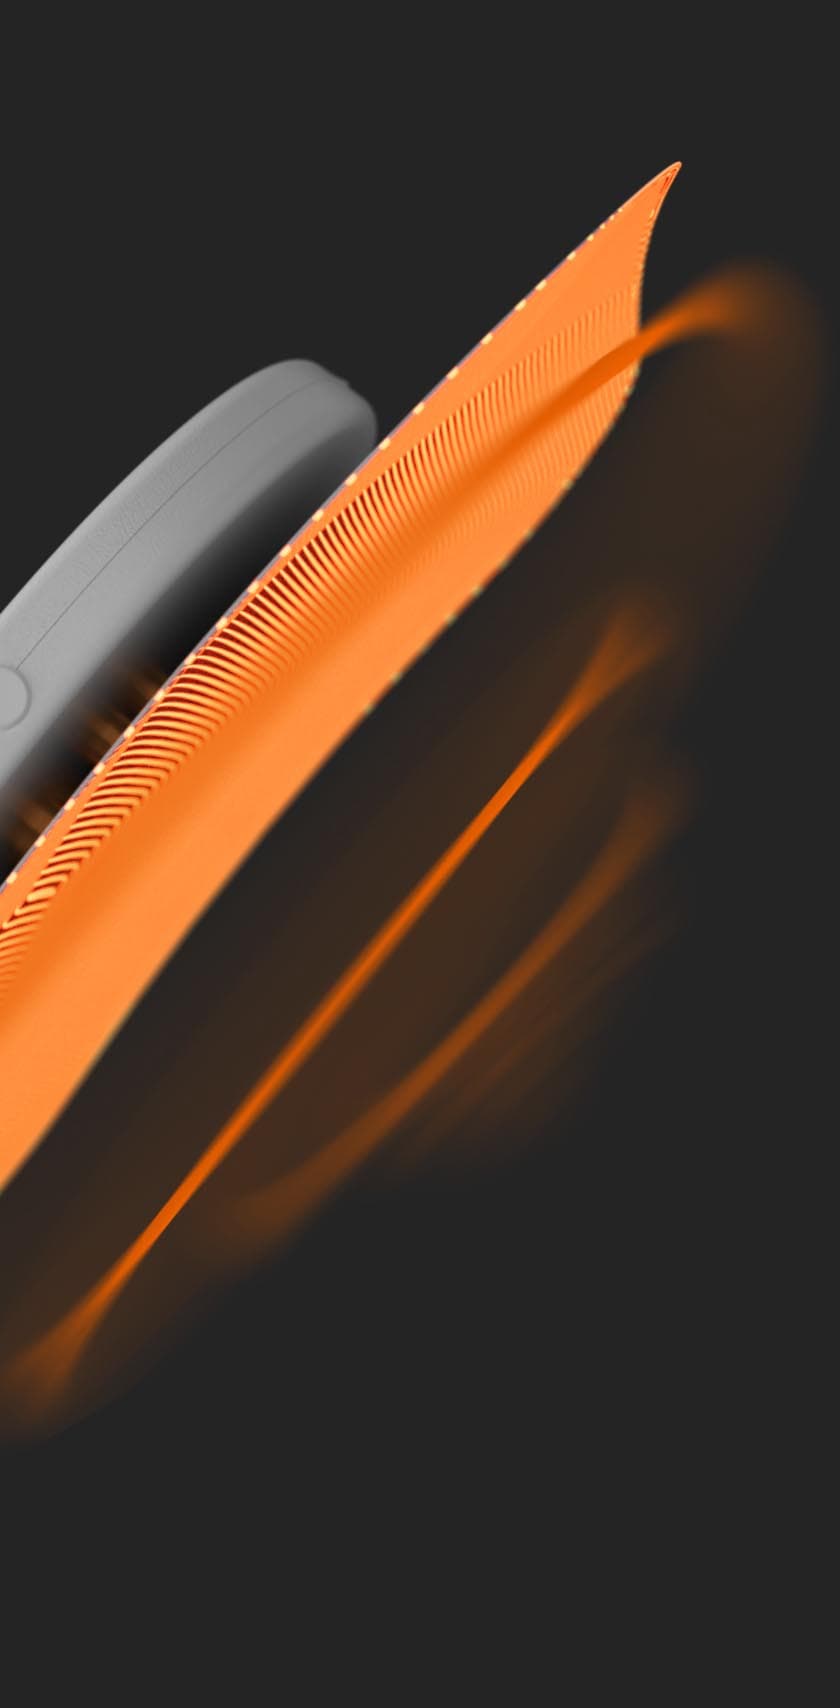
Seit Jahrtausenden vertrauen Menschen auf die heilende Wirkung von Wärme. Mit Calopad heben wir diese altbewährte Methode auf ein neues Level: Und zwar mit der therapeutischen Tiefenwärme. Sie dringt tiefer in die Muskulatur ein, um Schmerzen und Verspannungen effektiv und nachhaltig zu lindern.
Merkmale von Calopads Tiefenwärme:
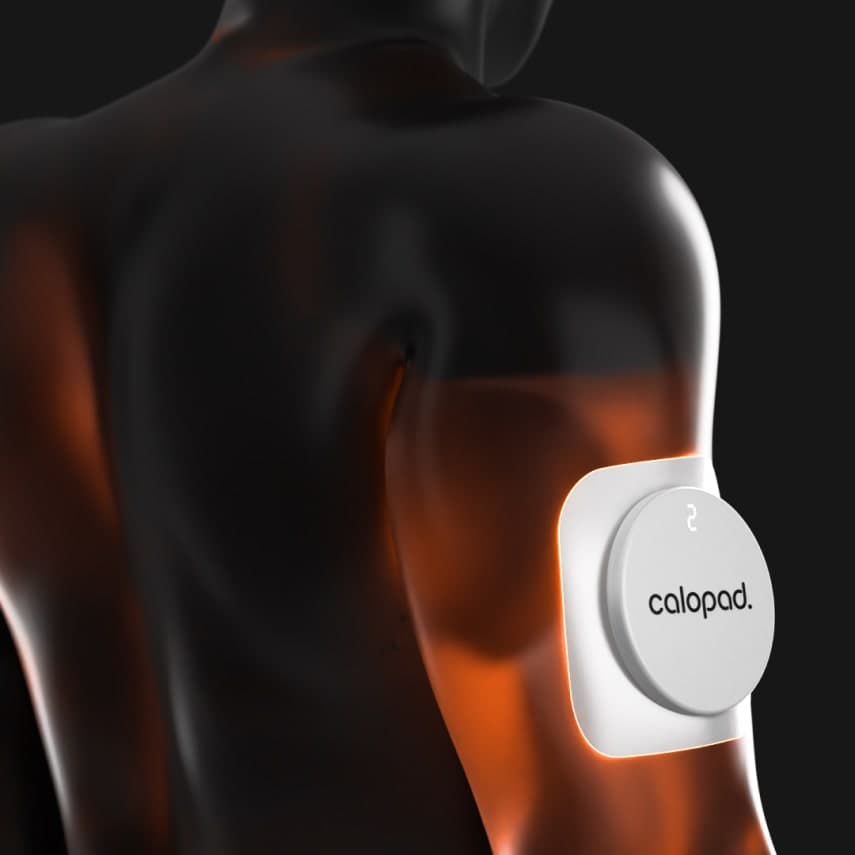
Die therapeutische Wärme von 42°C dringt tief unter die Haut in den Muskel
Konstante Tiefenwärme für mehr Effizienz & Effektivität
Gezielte Triggerpunkt-Behandlung, deren Effekte sich auf den ganzen Muskel ausdehnen
Erfahre in diesem Artikel, wie die Wärme zur schnellen Genesung beiträgt.
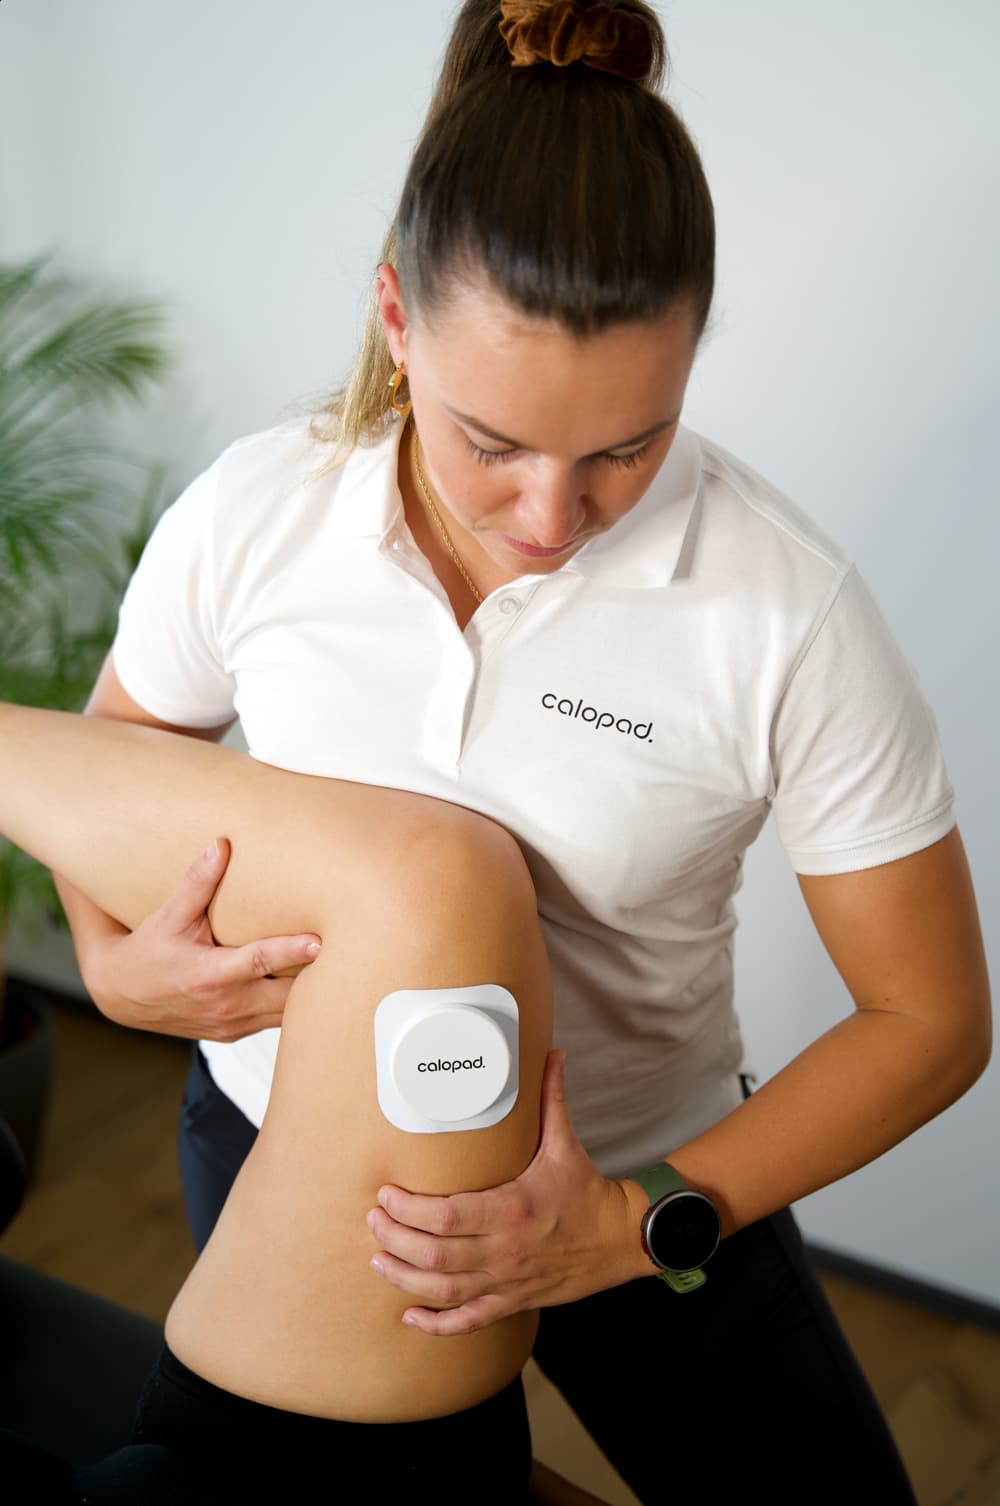
Vielseitig am gesamten Körper anwendbar
Calopad zeichnet sich durch seine vielseitige Anwendbarkeit am ganzen Körper aus, was es zu einem idealen Begleiter für die Behandlung verschiedenster Muskel- und Gelenkbeschwerden macht. Egal ob es um Verspannungen im Nacken, Schmerzen im unteren Rückenbereich oder um Beschwerden in den Gelenken geht – Calopad bietet gezielte, therapeutische Tiefenwärme, die genau dort wirkt, wo sie benötigt wird.
Das beste Tool für alle, die eine effektive, nicht-invasive Methode zur Schmerzbehandlung und zur Förderung der körperlichen Gesundheit suchen.

100+
Anwendungs
bereiche
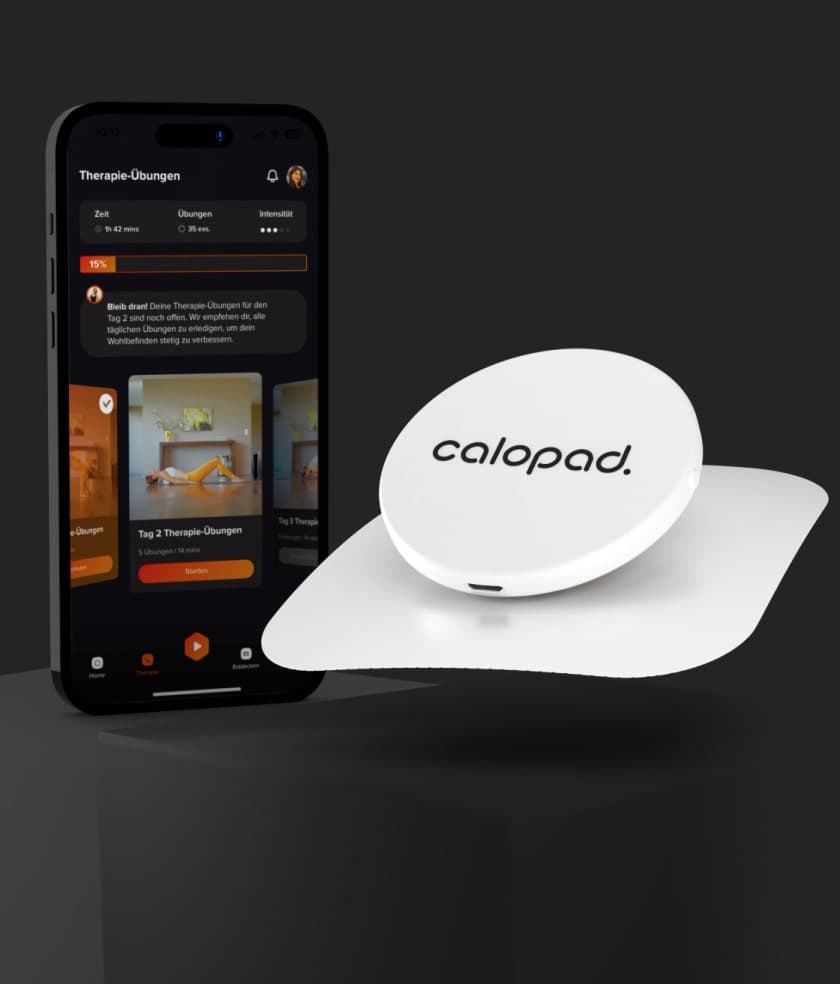
Perfekte Symbiose aus passiver Schmerztherapie und aktivem Therapieplan
Manchmal sind es die einfachsten und natürlichsten Kombinationen, die den grössten Unterschied machen. Experten raten, Tiefenwärme mit gezielten Übungen zu kombinieren, um noch bessere Therapieergebnisse zu erzielen. Genau hier setzt die Calopad App mit dem persönlichen Therapieplan an. Wenn es um deine Lebensqualität geht, warum dann nicht alle Register ziehen?
Optimale Genesung in kürzester Zeit
Entdecke das Calopad Universum
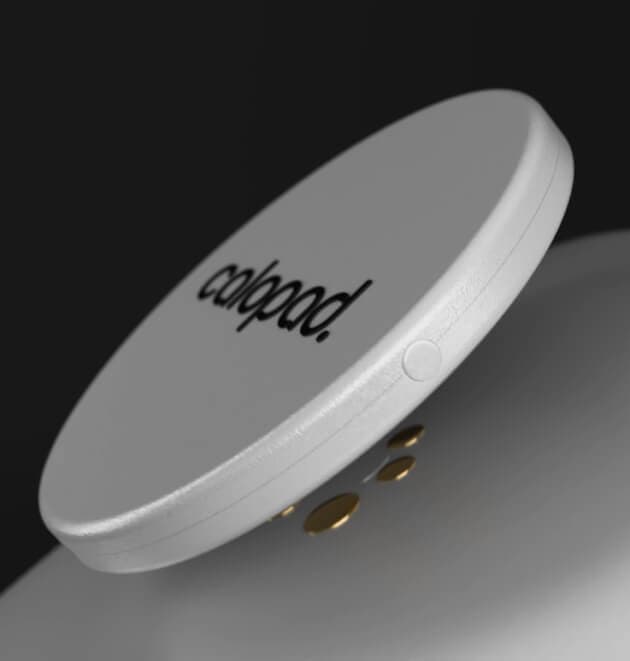
Calopad® Device
Die einzigartige Wärmetechnologie von Calopad vereint Schweizer Präzision, nachgewiesene Tiefenwirkung und die Freiheit, Linderung und Wohlbefinden überall und jederzeit zu erleben. Investiere in deine Gesundheit und geniesse die Vorteile unserer fortschrittlichen Therapielösung.
Schweizer Qualität:
Zertifiziertes Medizinprodukt mit höchsten Standards.Einzigartige Tiefenwirkung:
Konstante Tiefenwärme für Stunden für eine effiziente, nachhaltige Schmerzlinderung.Flexibilität:
Überall einsetzbar – ob Zuhause, bei der Arbeit oder auf Reisen.
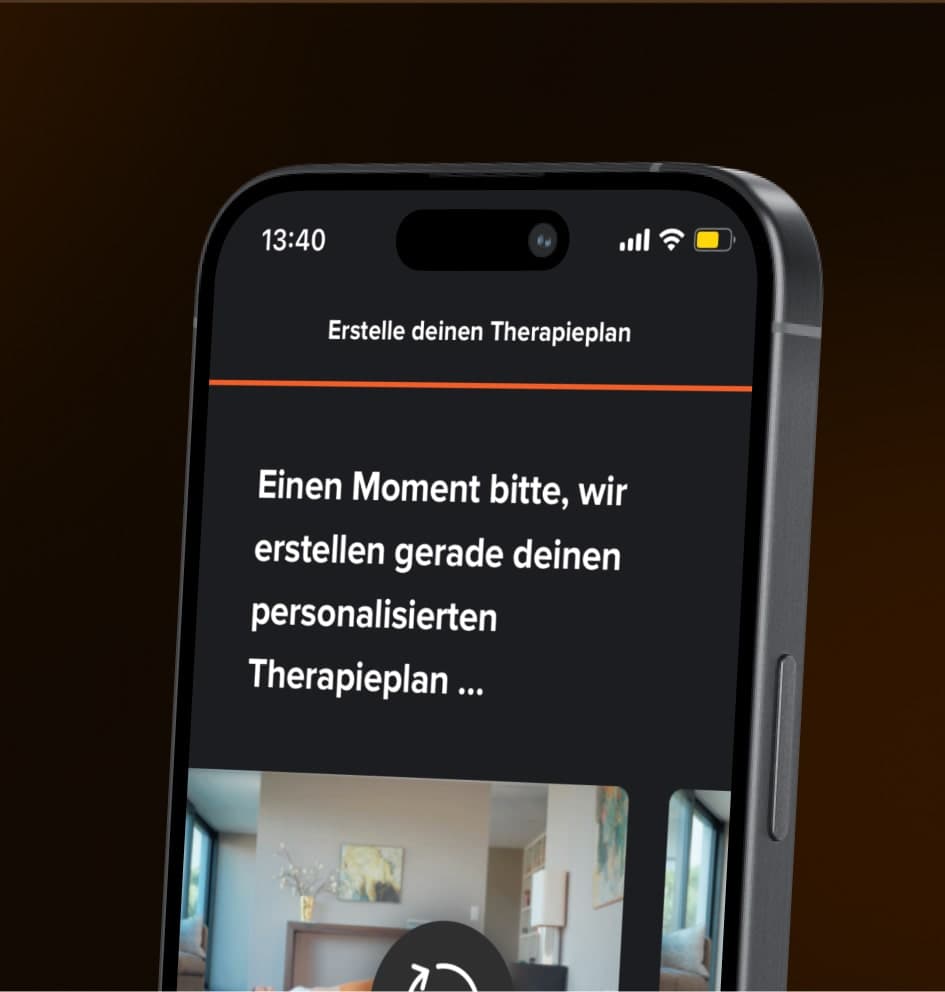
Calopad® App
Die Calopad® App ist dein persönlicher Therapiebegleiter. So bietet sie dir zahlreiche fortschrittliche Funktionen, um deine Beschwerden ganzheitlich zu lindern und dabei aus dem Vollen zu schöpfen - für dauerhaftes Wohlbefinden.
200+ Übungen:
Persönlicher Therapieplan basierend auf deinen Schmerzbereichen.Künstliche Intelligenz:
Chatte mit dem Calopad-Gesundheitscoach für Rat, Tipps und Unterstützung.Community-Austausch:
Profitiere von der Erfahrung anderer und bringe dich weiter.
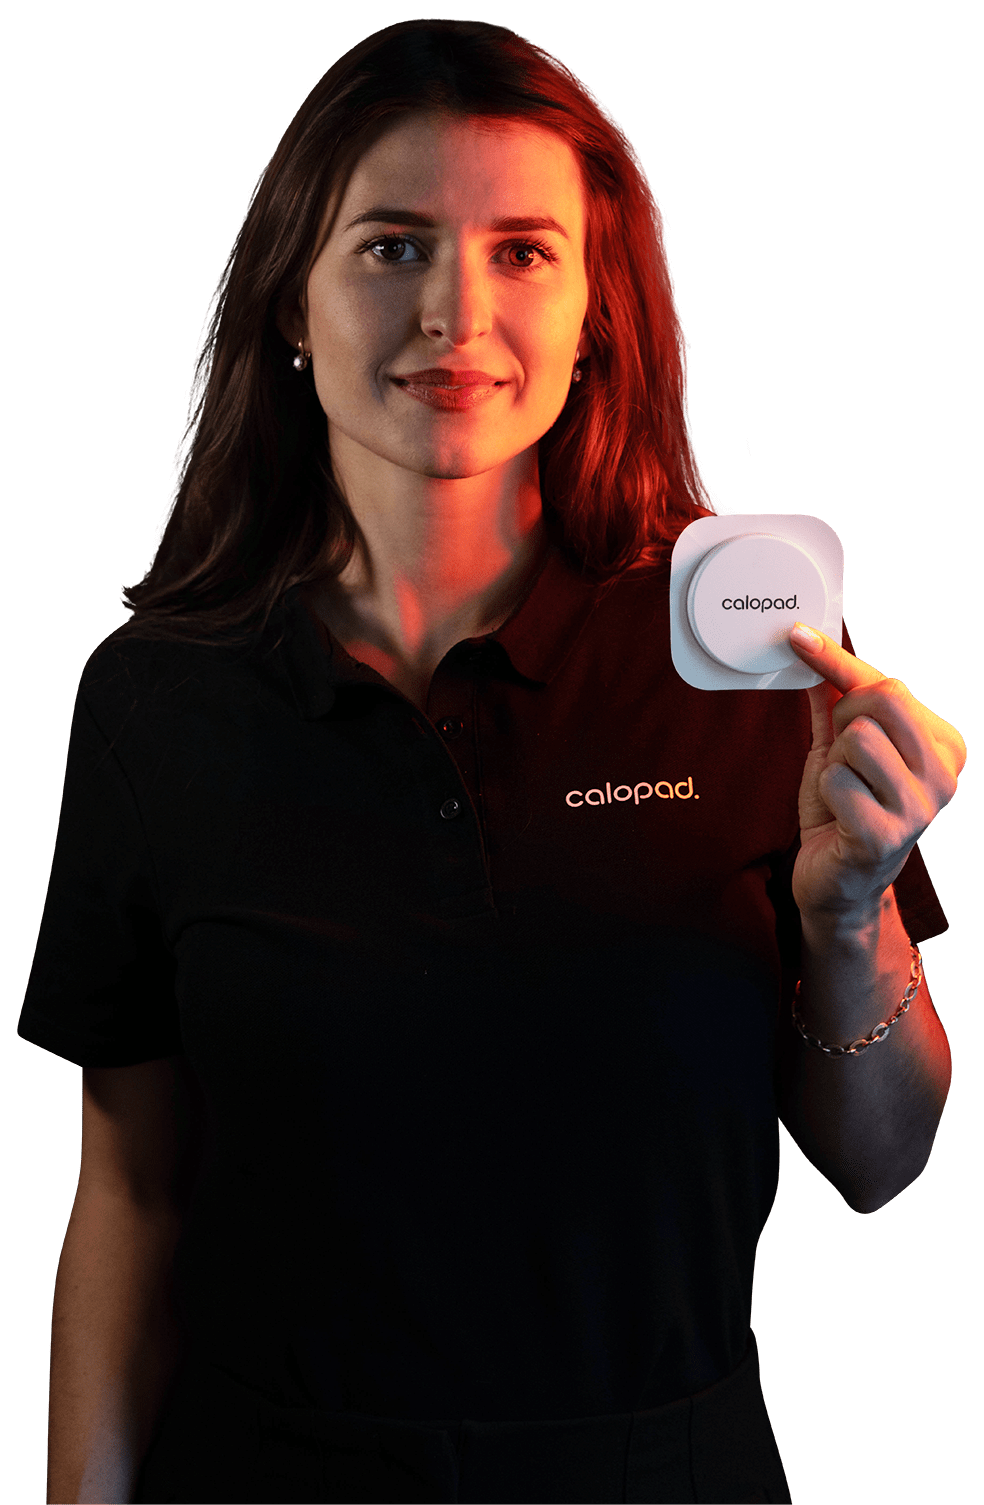
Calopad® Care Membership
Mit der Care Membership bekommst du einen massgeschneiderten Trainingsplan und persönliche Betreuung durch einen Calopad-Physiotherapeuten, der deine Fortschritte stetig begleitet. Durch Videocalls oder Behandlungen vor Ort unterstützten dich unsere Calopad Physiotherapeuten bei deinen speziellen Übungen in der App, was eine professionelle und effektive Genesung von zu Hause aus ermöglicht. Durch das parallele Kombinieren unserer Tiefenwärme-Therapie schaffen wir eine optimale Grundlage zur schnelleren Genesung.
Profitiere von Experten:
Unsere Physiotherapeuten unterstützen dich auf dem Weg zu deinem Wohlbefinden.Individuelle Beratung:
Massgeschneiderte Gespräche - auf deine Bedürfnisse abgestimmt, bringen dir Erleichterung.Home Physio:
Profitiere von der Expertise der Physios und werde dank Calopad Care zu deinem eigenen Therapeuten.
Profitiere von der 1:1 Betreuung durch unsere Calopad-Experten
Suchst du individuelle Lösungen für komplexe Beschwerden? Bei Calopad erhältst du persönliche 1:1 Expertise. Unsere Physiotherapeuten erkennen mittels medizinischer Checks DEINE Problematik und bieten massgeschneiderte Tipps für Regenerationund Wohlbefinden. Gehe über Selbsttherapie hinaus – Erlebe den digitalen Calopad-Vorteil!
Das sagen unsere Kunden
FAQ
Häufige Fragen
Die Wirkung von Calopad ist durch umfassende wissenschaftliche Studien belegt und das Therapiegerät als Medizinprodukt zertifiziert. Dies bestätigt die Wirksamkeit und Sicherheit von Calopad in der Schmerzlinderung und Muskelregeneration.
Die Kombination von Tiefenwärme und aktiven Physiotherapie-Übungen hat eine synergistische Wirkung auf die Schmerzlinderung und Muskelregeneration. Tiefenwärme entspannt die Muskulatur, fördert die Durchblutung und bereitet das Gewebe auf die Bewegung vor. Die aktiven Übungen stärken dann gezielt die Muskulatur, verbessern die Beweglichkeit und unterstützen den Heilungsprozess. Diese ganzheitliche Herangehensweise sorgt für effektivere Ergebnisse im Vergleich zur alleinigen Anwendung einer der Methoden.
Das Calopad© Therapiegerät repräsentiert eine Investition in eine innovative und ganzheitliche Schmerztherapie. Im Vergleich zu anderen Wärmetherapieprodukten bietet es konstante therapeutische Tiefenwärme, ist wiederverwendbar und als Medizinprodukt zertifiziert. Ausserdem verwendet Calopad keine Arzneistoffe, weshalb sehr hautfreundlich ist und selbst für Allergiker bestens geeignet. Diese Faktoren gewährleisten eine effektive, sichere und nachhaltige Schmerzlinderung sowie eine langfristige Anwendbarkeit. Die höheren Kosten reflektieren diese einzigartigen Eigenschaften und die langfristigen gesundheitlichen Vorteile, die Calopad bietet.
Ja, die Calopad Therapies App ist vollständig kostenlos. Sie bietet Nutzern einen persönlichen Therapieplan, der auf die individuellen Schmerzbereiche abgestimmt ist. Ebenso können die Nutzer bei Fragen direkt mit ihrem digitalen Gesundheitscoach chatten oder sich mit anderen Nutzern in den verschiedenen Communities austauschen – und das Ganze kostenlos.
Die erste Beratung im Rahmen des Calopad Care Programms ist tatsächlich kostenlos. Es gibt keine versteckten Kosten. Diese Erstberatung ermöglicht es dir, die Vorteile und den Mehrwert des Calopad Care Modells unverbindlich kennenzulernen. So findest du heraus, welche Therapie am besten zu dir und deiner Schmerzgeschichte passen.